Installation Guide
Always refer to the important safety information before installing Magnetic Mic.
3 easy ways to install your Magnetic Mic radio mic holder.
-
Watch the step-by-step installation video
Watch the step-by-step walkthrough to see how installation works.
-
Download the installation guide
Download the printable installation guide, with included safety information.
-
View the online installation guide
Continue scrolling down this page to view the online step-by-step installation guide.
Step 1

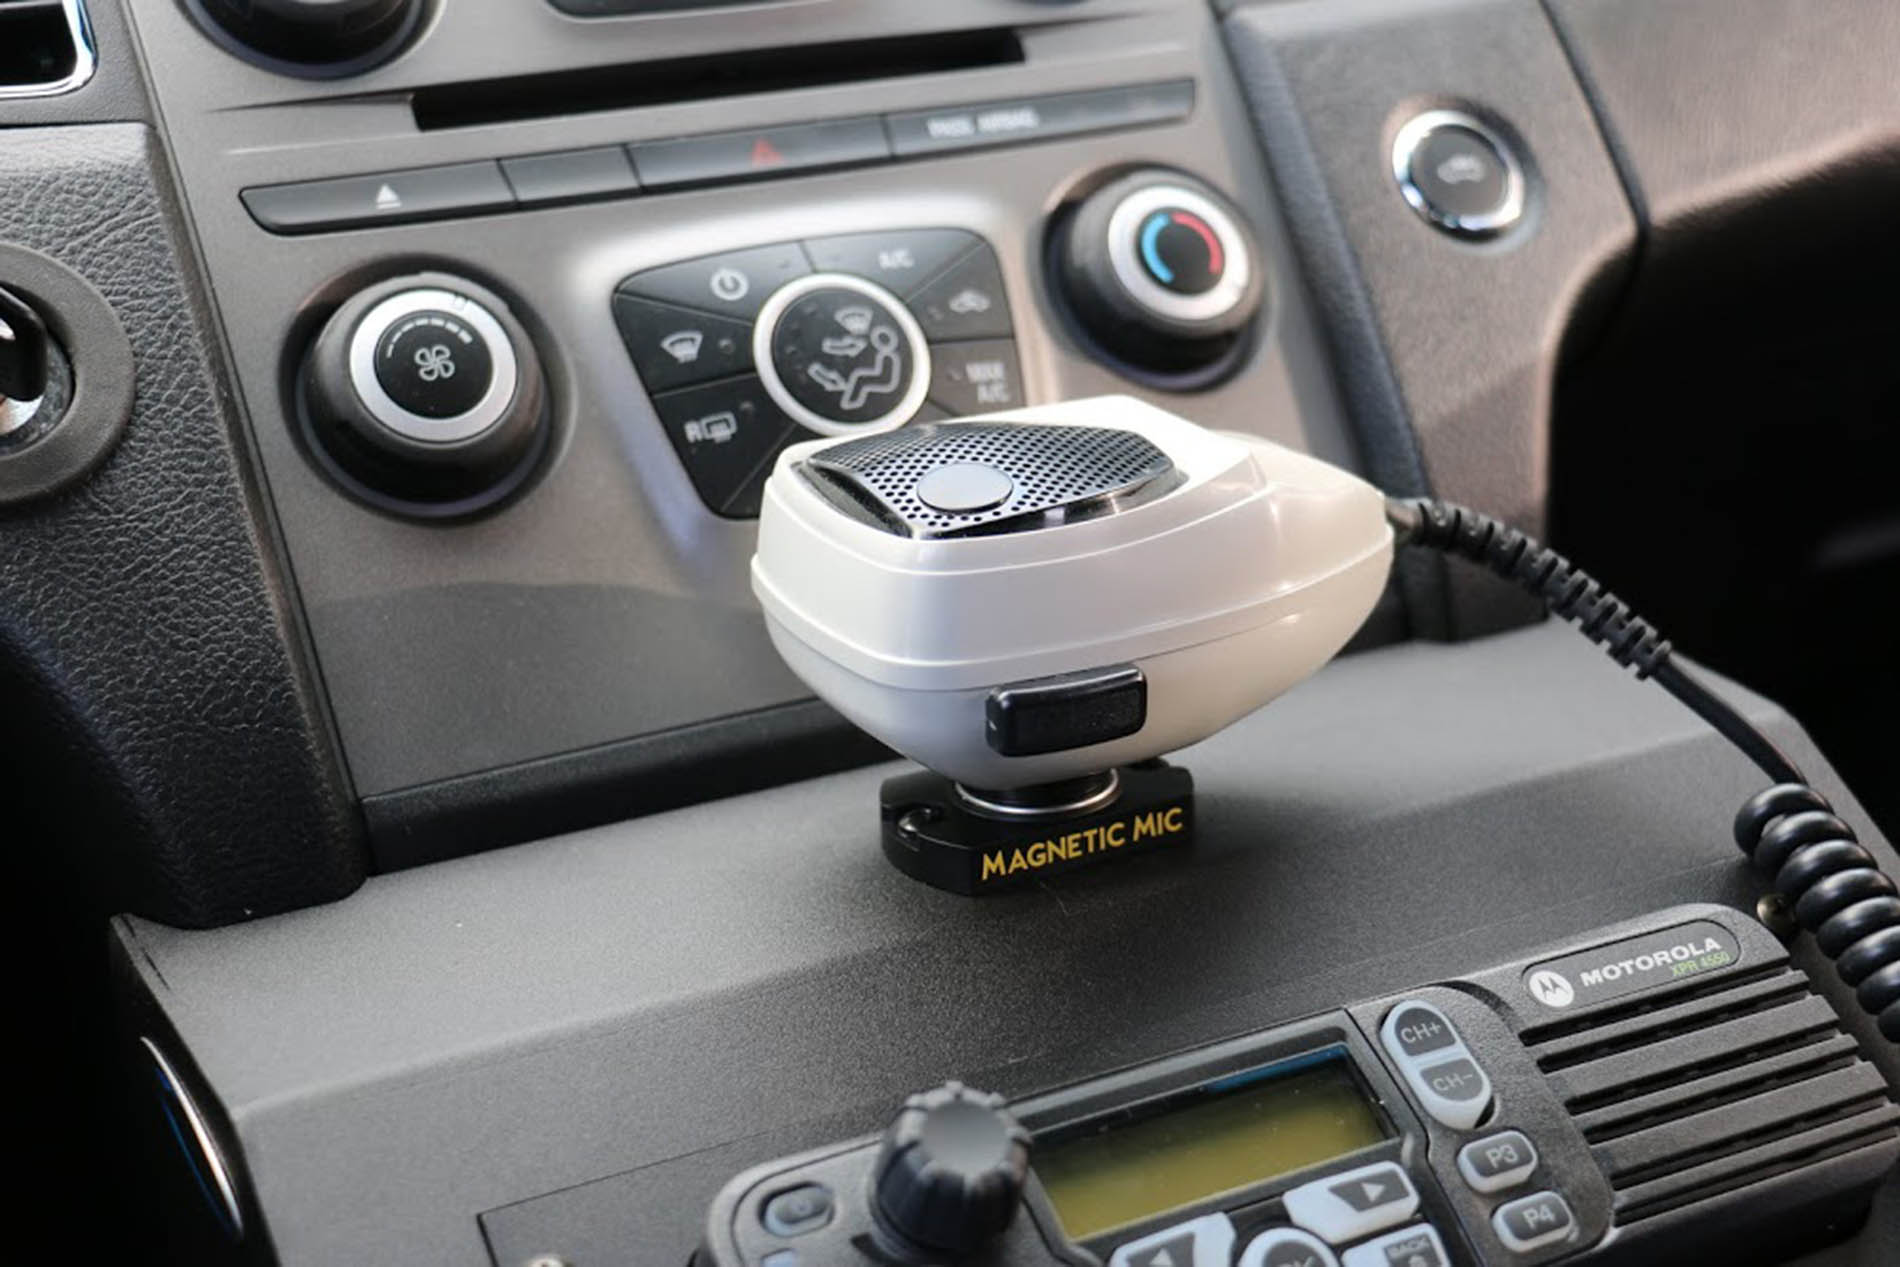
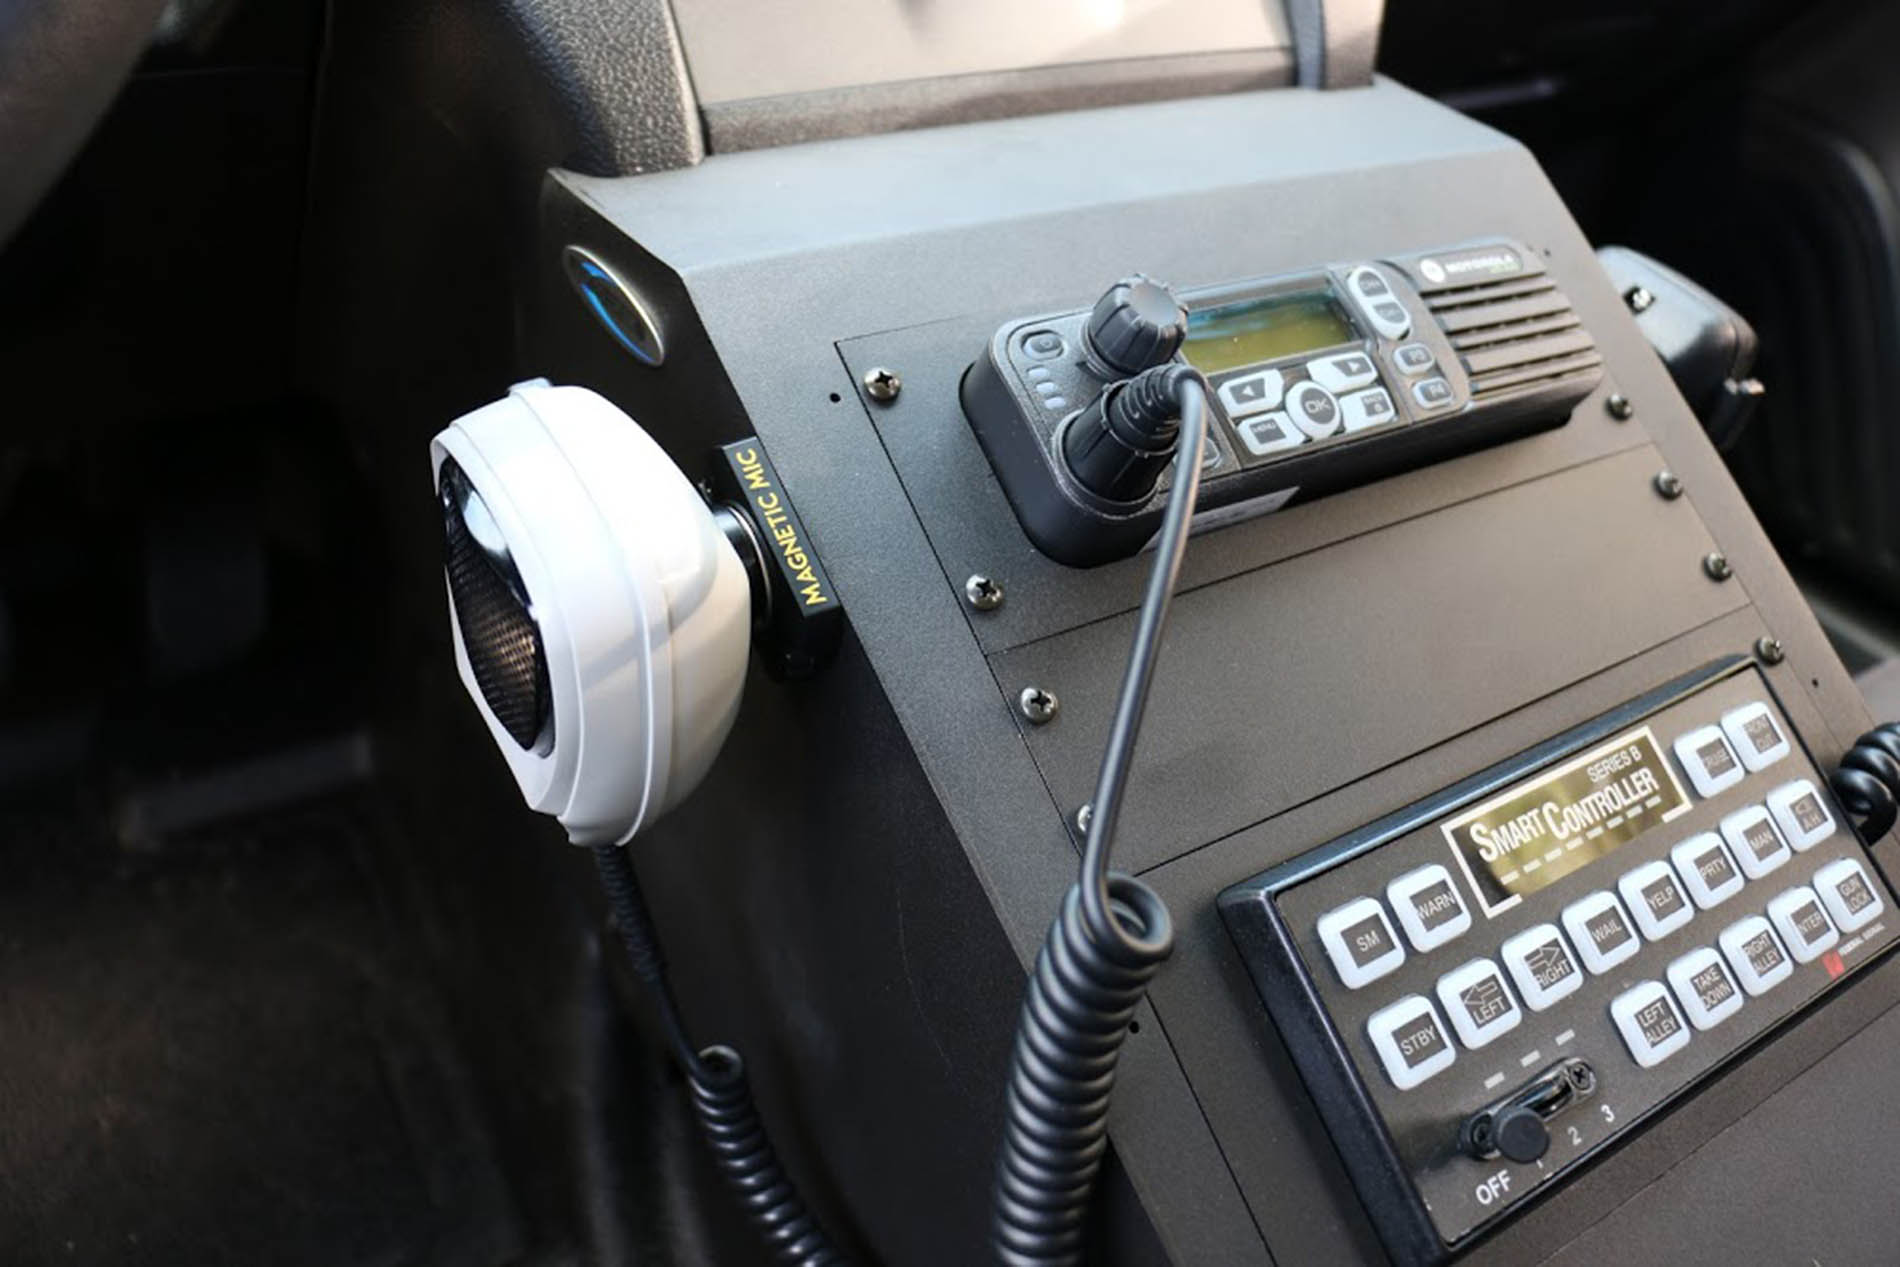
Illustration depicts a common installation placement of the Magnetic Mic base piece, in an area within the driver’s reach and free from obstruction.
Common installation placements
Step 1
Installing the magnetic base piece
Find a suitable location to mount the magnetic base piece (part #1) that allows the microphone, when hung up, to be easily accessible and free of obstruction. This location must be at a safe distance from any and all electronic devices adversely affected by magnets. Rule of thumb: If you can fit a common, full sized microphone between Magnetic Mic and the other object, the object is generally at a safe distance.
If using existing holes:
Confirm the existing holes make for a suitable location (step 1).
Use the appropriate drill bit (refer to the Drill Bit Size Chart below).
If drilling new holes:
Confirm this location makes for a suitable location (step 1).
Reference the included “hole pattern template.”
Use the appropriate drill bit (refer to the Drill Bit Size Chart below).
Step 2
Step 2
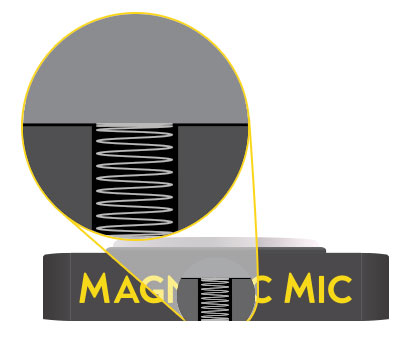
Grounding the microphone (not required for all installations)
Included with all conversion kit is a small spring that enables the microphone to ground when hung up. Insert the spring into the middle hole of the magnetic base piece (part #1). Once the magnetic base piece is installed, make certain the spring contacts both the back of the magnet and the surface of the conductive mounting location. If the selected mounting location is non-conductive, be sure to utilize a grounding wire. Note: self-grounding microphones may need to be programmed to ground in the manner mentioned above. Please contact the proper radio system technical support for assistance.
Step 3
Step 3
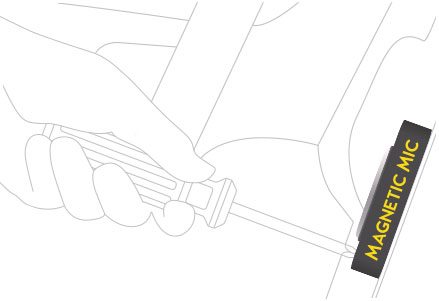
Securing the Magnetic Base
Fasten the base piece (part #1) securely to the mounting location using the appropriate screws. Only use hand tools to complete this step. Using hand tools helps prevent stripping the hardware or damaging the base piece.
Step 4
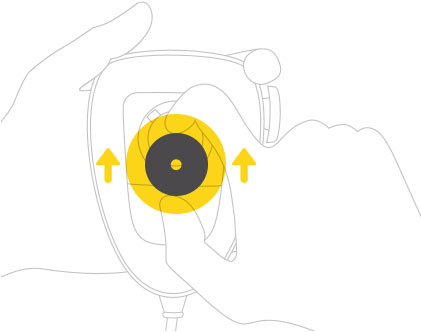
Step 4
Attaching the Microphone Adapter
Slide the Microphone Adapter (part #2) onto the back of the microphone.
Visually confirm that the Microphone Adapter has been slid completely into place.
Step 5
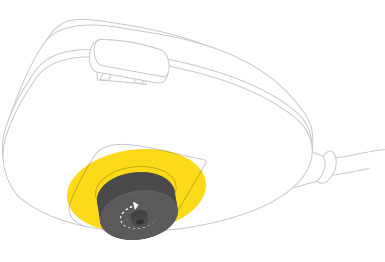
Step 5
Securing the Microphone Adapter
Tighten the set screw securely into the Microphone Adapter (part #2) with the included hex wrench. After completely tightening the set screw, confirm that it is below the surface of the Microphone Adapter (part #2).
For best results, use the uncoated set scew and apply liquid thread lock to the threads prior to installation.
Installation Complete!


